Finding out that your gaming pc won’t turn on is a super frustrating situation to come home to. When you click the power button on your PC, you should expect to see POST, the system BIOS screen, and then the OS loading screen. If you’re not seeing any of this, don’t worry! There are several ways to troubleshoot this. In this post, we’ll be walking you through several fixes if your computer won’t turn on, going from the least to most invasive options.
How to Prepare for Troubleshooting Your Computer
There are a few things we need to do before we are ready to open up your PC:
- While dealing with any internal parts, always make sure your PC is completely turned off and unplugged.
- Make sure your hands are clean and dry before touching any internal components.
- Gather all the necessary tools! For the following steps, you’ll need a flat screwdriver, something to cut zip ties, and a paper clip.
Why Won’t My PC Turn On?
1. Check the Power Supply
If your computer won’t boot, the first thing you should check is the power supply (PSU). Make sure your PC is plugged into the outlet properly. Inversely, make sure that the same wire is plugged into the PC’s power supply properly. If everything is plugged in properly, the problem could also be the power strip or outlet you’re using. Plug in another electronic device to your power strip or outlet to see if that might be the source of the issue.
2. Check the 24 Pin Power Cable
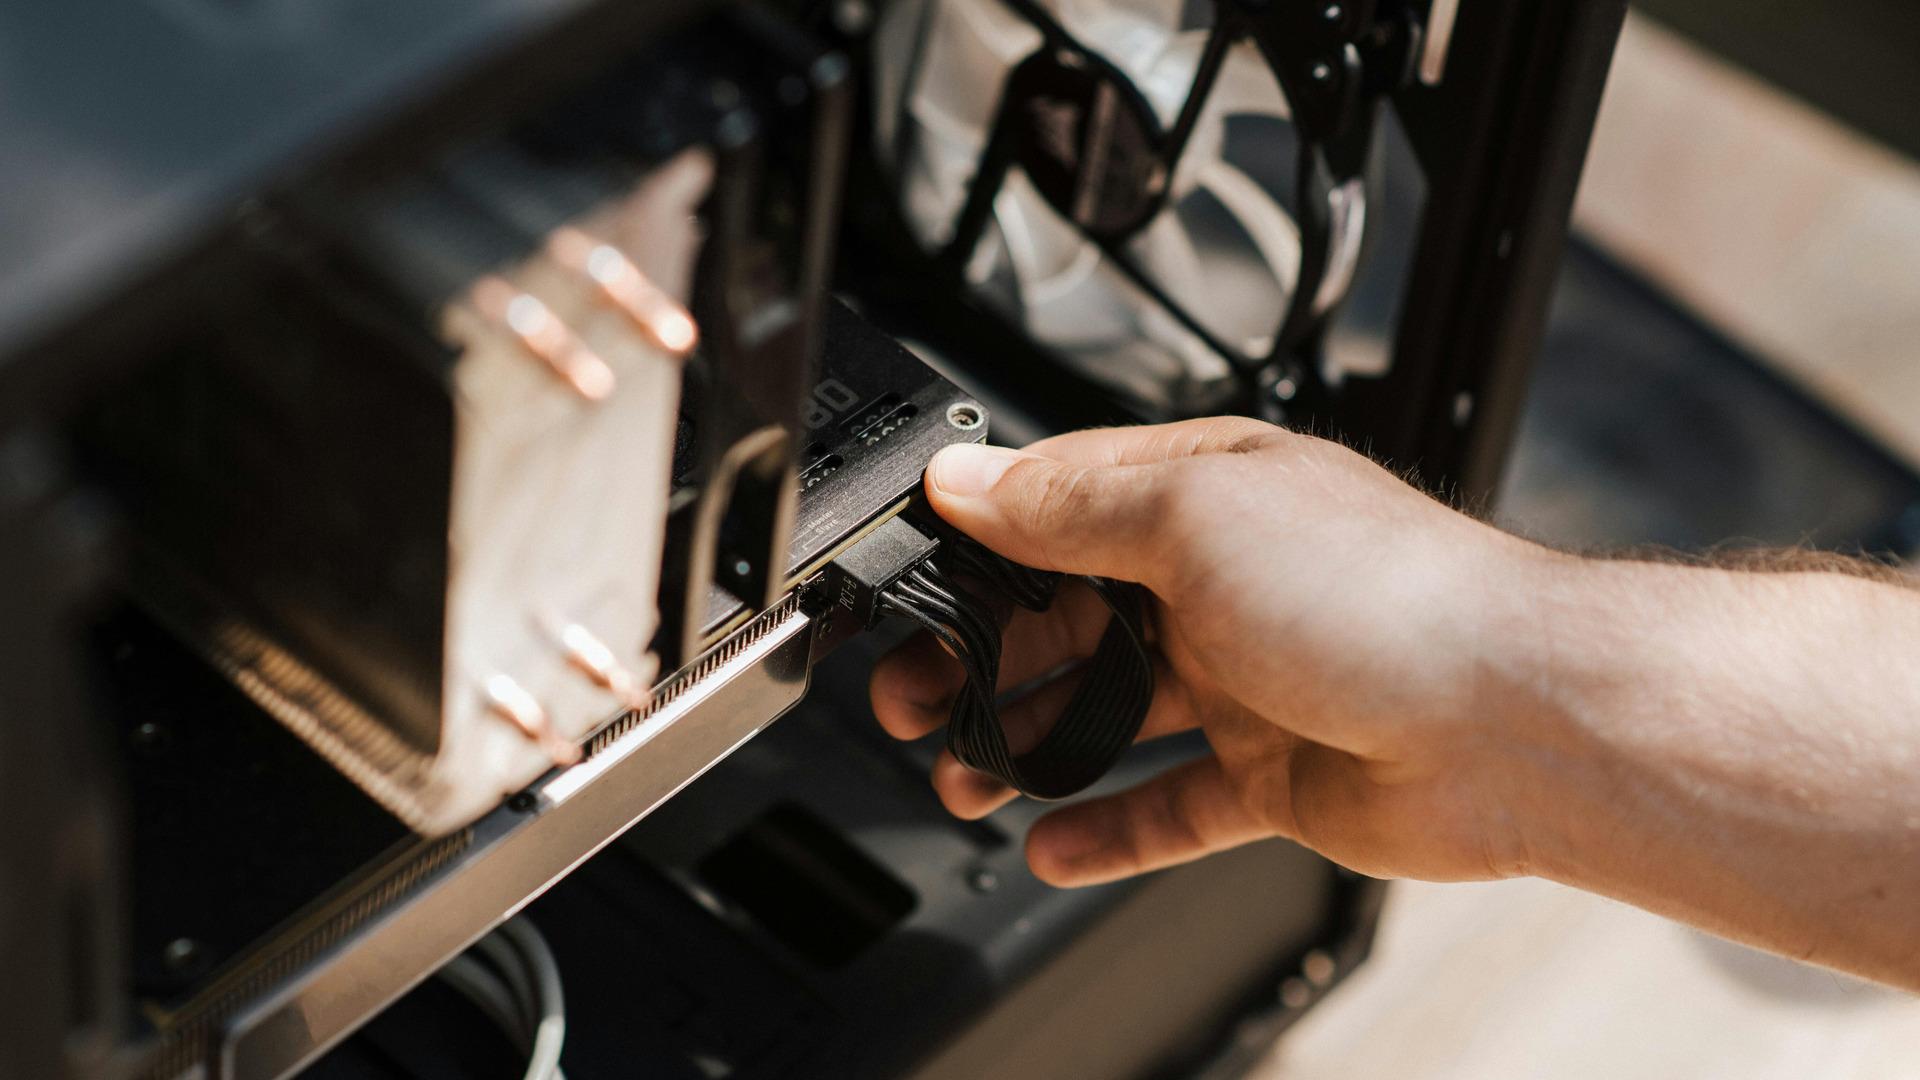
For this step, we’ll be taking off the side panel and investigating inside your PC. The first thing we’ll be looking at is the 24 pin power cables. This is one of the main power cables that connects the PSU to the motherboard. It’s important that it’s plugged in properly, meaning there are no gaps between the port and the connector. Improperly connecting this cable is a common mistake for new builders as it needs a lot more force than you might think to plug it in. To add, it also takes a lot more resistance to remove. A good indicator that you’ve successfully connected the cable is to firmly push until you hear it *click* into place.
3. Check the Power Button Cable
Next, we’ll have you take a look at the power button cable. A broken power button cable prevents the computer from responding and could be the reason behind why your PC isn’t turning on. This cable can be found connected to the front panel header towards the bottom right of your motherboard. The cable is labeled “POWER SW”, and is often found with other 1-2 pin cables like the HDD and LED cables. Make sure that the power button cable is seated on the right pins within the front panel header. It commonly connects to pins 3 and 4 in the top row of the header. If you’re unsure, it’s also marked on the motherboard next to the pins or found in your motherboard’s manual. Make sure it’s firmly in place because it should not be loose or dangling.
4. Jump the Power Button Header
If the power button cable doesn’t seem to be the problem, it might be the pins of the header. We’re going to test this by jumping the power button header.
Start by unplugging the power button cable from the header. Remember, don’t touch any of the cables of the front panel header, like the HDD and LED cables. Once the cable is removed, plug your PC back in and switch on the PSU. Using a flat screwdriver, create a bridge between the two pins. This should turn on your system without using the case.
Find Support From the Experts
If none of the steps above work, you can reach out to the iBUYPOWER support staff! We have a live support team that’s available to chat from Monday through Friday, 9am to 4pm PT. You can also create a support ticket describing your issue and our team will reach out to help.
Is It Time for a New Computer?
It’s totally normal to get the occasional bug on your computer, especially if it’s your first PC build. However, if you’re starting to see consistent issues with your PC, it may be time to either upgrade your rig or buy a new one. With a pre-built gaming PC, you’re less likely to run into these annoying issues. Since they come to your doorstep expertly built and tested, you can avoid rookie builder mistakes that are so frustrating to troubleshoot.
Keep Your PC Running Strong
It’s important to routinely maintenance your PC in order to keep it running smoothly. Doing things like checking the hardware connections and updating your system ensures an undisturbed gaming or browsing experience. If you find that building a gaming PC yourself is too troublesome, there are many prebuilt PC options to choose from. Learn more about our prebuilt systems and our troubleshooting resources on our website and blogs!


